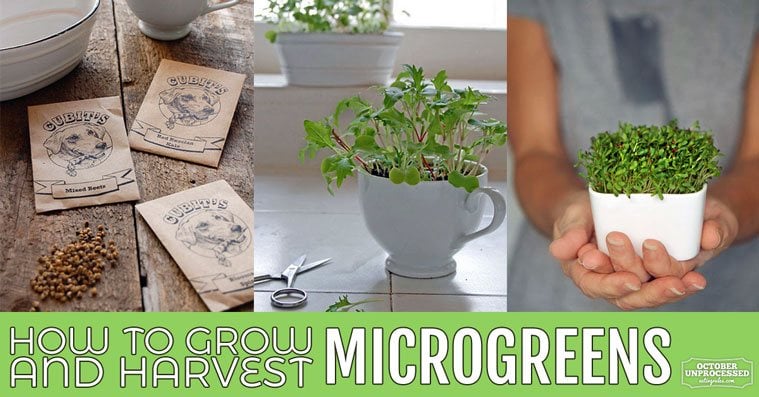
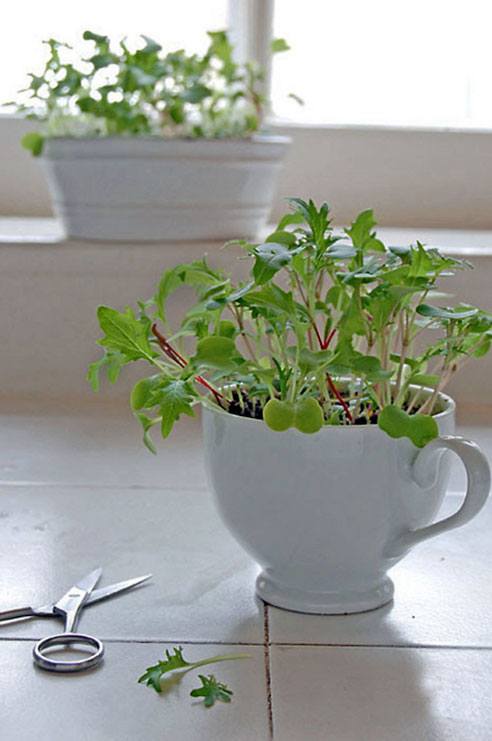
How to Grow and Harvest Microgreens
October 10, 2017

ARE YOU READY TO CHANGE YOUR LIFE?
Because this little skill is going to change your life, make your cats speak Spanish, improve your hearing and give you the ability to do the splits. In both directions.
Yes. Growing your own microgreens is exactly that life changing. I think you’re probably familiar with microgreens but in case you haven’t left the house, watched a cooking show, eaten out or looked at a food magazine in the past 7 years or so, I’ll explain. Microgreens are exactly what they sound like. Teeny, tiny versions of various greens. They’re mainly used as a garnish, but don’t be fooled by that. There’s a huge amount of flavour and nutrients packed into those teensy leaves.
Plus if you’re a hard core vegetable gardener like I am, they’re a great way to get through the seasons that aren’t exactly vegetable gardening friendly. You just stick them on a sunny windowsill and in 9-10 days you’ve grown something you can eat. Plus, like I said, your cats are speaking Spanish so …. kind of an exciting time all around.

If you have some seeds, some dirt (soil for you fancy types) and a container you’re well on your way to being able to do the splits. If you’ve ever bought a packet of seeds you know you rarely plant all of them. Microgreens are a good way to use up some of those leftover seeds you have.
Certain seeds work better than others for microgreens but really almost anything can be used. As a guide for you, here’s a list of some perfect contenders for microgreens.
- Mustard
- Kale
- Radish
- Beets
- Lettuces
- Broccoli
- Cabbage
- Celery
- Chia
Truly most seeds will work. My current favorites are Arugula microgreens and Red Cabbage (which is the most Vitamin C dense of all the microgreens).
There isn’t a lot to it and frankly very few steps but there are a few tricks that’ll help you be more successful.
How to grow and harvest Microgreens.

1. Choose a container. You can use any shallow container as long as you put a tiny bit of gravel on the bottom for drainage. You can also use regular old clay or plastic pots that already have drainage holes.
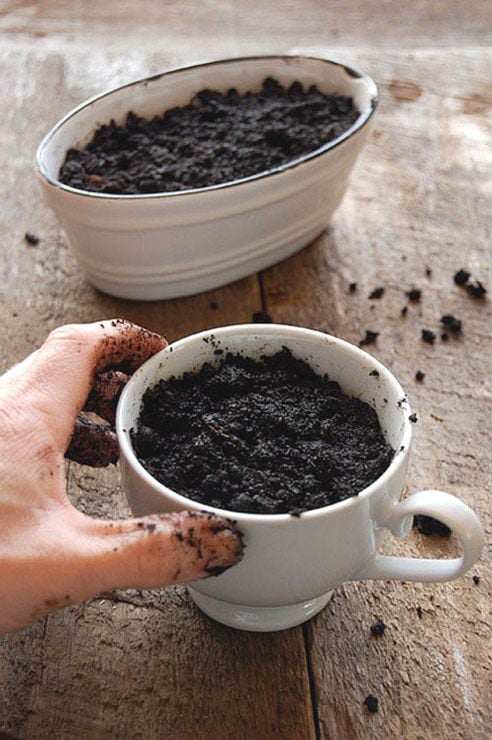
2. Add either regular soil or “soilless mix” to your container. You don’t need a ton, but make sure there’s enough for the roots to grow at least 1″ deep.
TIP
For planting microgreen seeds, or any seeds for that matter, you want your planting medium damp but not dripping wet. Wet the soil, mix it up and squeeze a palmful of it quite hard. If a tiny bit of water squeezes out you’re good. If no water comes out, you need to add a bit more water. If water pours out you need to add more soil. I probably don’t need to explain this to you. I mean, you’re pretty smart. Your taught your cat to speak Spanish.
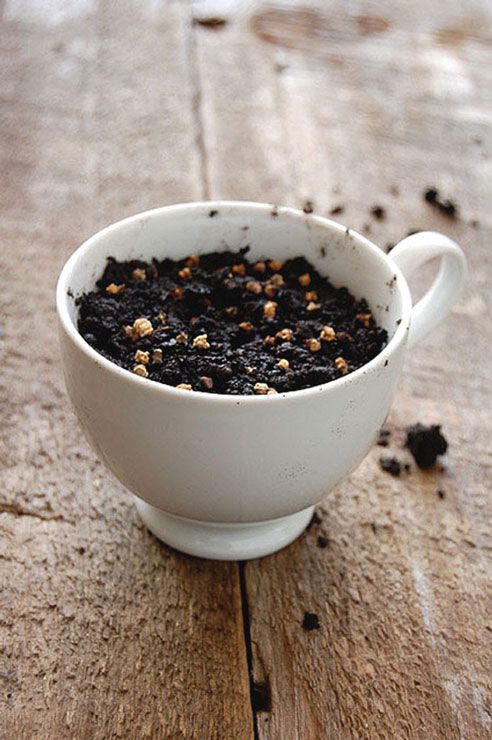
3. Sprinkle your seeds on top. Here I have a mixture of beets (those are the big seeds), kale, and spinach.
TIP
Press the seeds into the soil with your fingers. Contact with the soil is what helps them sprout. If you don’t press them into the soil they’ll have an air pocket underneath them and your germination rate will go down.
Cover with a tiny amount of soil and then cover your container with plastic wrap until the seeds sprout. The plastic wrap helps create humidity which helps germination. The moment they sprout (after a few days in most cases) you can remove the plastic and place your pots in a sunny windowsill.
Keep the growing sprouts moderately wet and within 9-10 days you’ll have your very own microgreens.
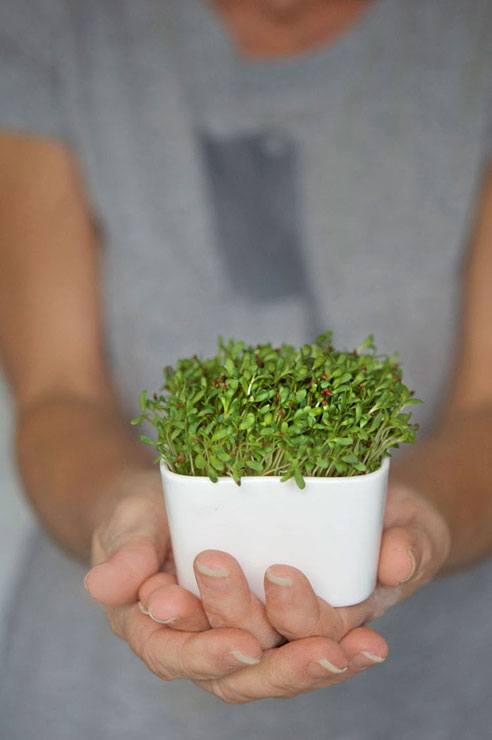
4. Harvest baby! The time to cut your microgreens is when they have their first true set of leaves. That means the leaves that actually look like the plant leaves. The first set of leaves that grow aren’t real leaves at all, they’re cotyledons. For the purpose of this post we will call them pretend leaves.
TIP
To harvest microgreens DON’T pull them out of the soil. That’ll disturb all the plant roots. Instead, cut the greens at soil level with sharp scissors.
Obviously you aren’t going to make an entire salad out of microgreens so what do you do with them?
- Add them to any regular salad.
- Garnish soups with them.
- Add a pile of them to bagels or sandwiches in place of a whole lettuce leaf.
What’s the difference between a microgreen and a sprout?
There aren’t any legal definitions per se but basically, (and this would never hold up in a court of law) microgreens are more mature than sprouts. Also, sprouts, like the alfalfa sprouts I’ve grown above, are usually planted without any soil and the entire plant is eaten including the root, seed, stem and the first set of leaves.
My final tip? Once your microgreens have grown, EAT them. Don’t save them for another day. They’re only young once. 😉
A television host for 15 years, Karen Bertelsen now runs the irreverent blog The Art of Doing Stuff where she convinces you that “It ain’t that hard. Any of it.” Karen always has at least one bruise and one burn on her body on any given day. You can find Karen on Pinterest and Instagram.


Can you harvest them multiple times?
Hi Kate! If the plants were bigger you could, but not when they’re this tiny. You only get one chance at cutting them when they’re microgreens. ~ karen!
Hi Karen…I followed you over here…glad I did. I have lots of good intentions (aka seeds) that were never planted. One question…will they regrow new leaves after they are trimmed?
Hi Janie! With microgreens, because you’re cutting all of the leaves off and they only have a teeny tiny root, they do not regrow. You cut them once and that’s it. ~ karen!
Hi Karen, I followed you over here from The Art of Doing Stuff. As usual, your post was as entertaining as it was useful. (No pressure!) Thanks for micro greens info. I’m doing it! : )
Nooooo. No pressure, lol. ~ karen!
I accidentally picked and cooked beet greens one year and liked them better than any other I had tasted. So now that I’m gardenless, I think I’ll try beet micro greens. Thanks Karen, a bagel with cream cheese and greens is exactly what I will eat for breakfast on snipping day.
Thank you! I will finally have a way to use up my :
1. unplanted seeds (or at least check up on their viability)
2. huge collection of clay pots sitting on my garden shed shelf taking up space but mostly just looking cool
3. comments every Fall that i’m going to plant a Winter crop and I never do.
This is IT!! 🙂
Yep! Try the arugula. SO good, and I’m not huge on full grown arugula. ~ karen!