A Quick and Easy Dinner with the SmartHub Sous Vide Cooker
October 27, 2016
Quick note! Oliso is an official sponsor of October Unprocessed, and also provided a SmartHub cooker and vacuum sealer for me to review. They’re also offering you a $5o discount on each these machines when you take the October Unprocessed pledge!
I’m a big fan of sous vide cooking. While many folks enjoy it for the luxurious feeling this method of cooking inspires — because it’s used by many of the best restaurants in the world — I enjoy cooking this way because it’s easy and, to be honest, incredibly difficult to screw up. For example, if you’re one of those people who continually over- or under-cooks your steaks or chicken breasts, sous vide might be the key to unlocking perfectly cooked proteins for the rest of your life.
The science behind sous vide is simple: Set up a tub of water, hold it at the right temperature for the food you’re cooking, put the food in a sealed bag, and submerge the bag in the water until it’s done. That’s it. When used to cook the general staples you enjoy for dinner, sous vide is a great set-it-and-forget-it type of cooking.
People who love culinary geekery are SUPER into sous video cooking because there are an endless number of tech toys you can purchase to get the job done, and each new toy has some sort of cool feature that makes it the thing to have. I’m not terribly into unitaskers (since KonMari-ing my kitchen) and even the best sous vide equipment falls into the category of “does one thing well, but still only does one thing.”
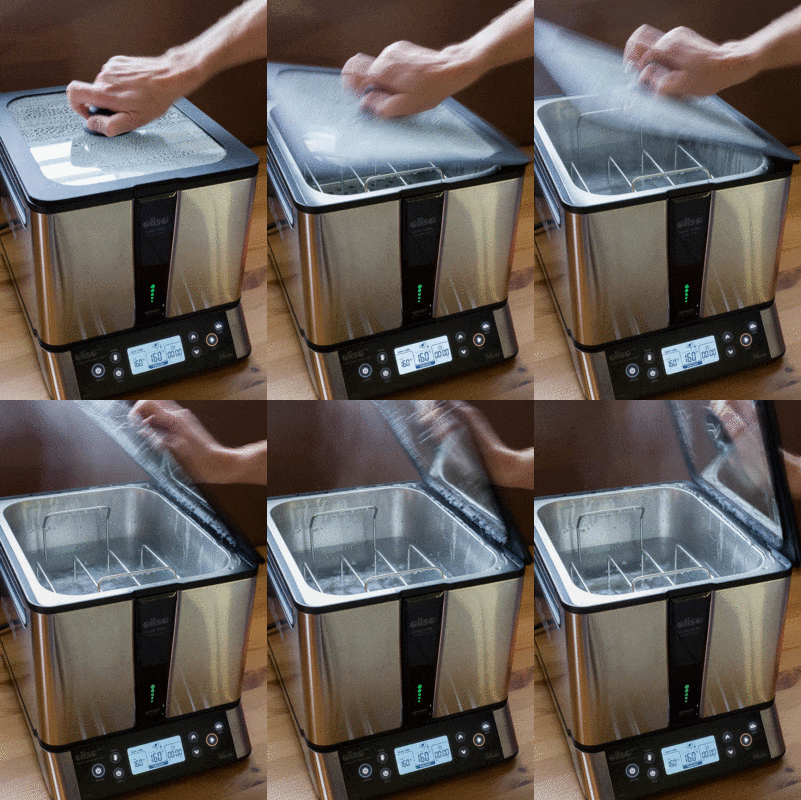
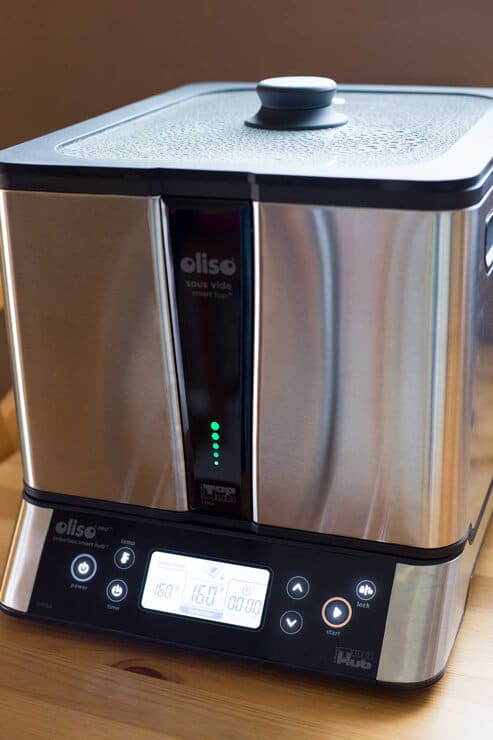
That’s not so for the Oliso SmartHub sous vide cooker, which actually does many things and still does them very, very well. This gorgeous sous vide setup comes with an electronic water bath that allows you to set the temperature and cooking time at the digital base, which then talks to the reservoir to constantly adjust the temperature of the water to keep it on point. Its display is easy to read and the features are intuitive to use. I didn’t have to give the instruction manual more than a cursory glance to get the whole thing up and running in 5 minutes.
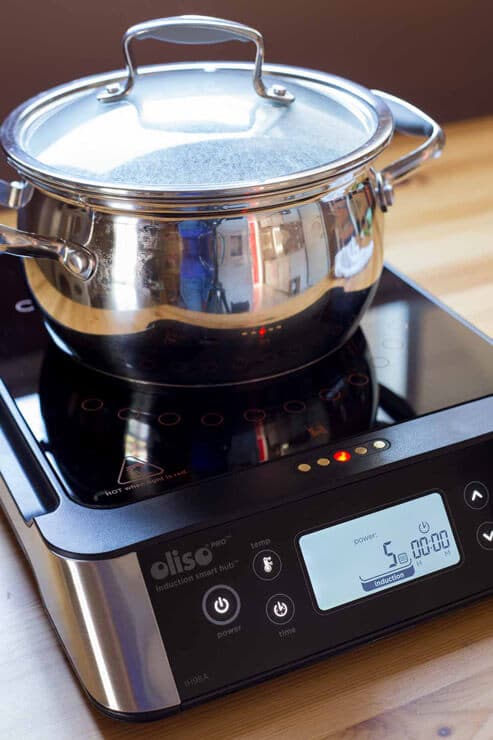
The SmartHub also comes with a lightning-fast induction burner that powers the whole apparatus. So while it’s spot-on for easily cooking sous vide recipes, you can also remove the water tub and just use the base as a cooktop. If your kitchen is anything like mine, with a flakey glass-top stove that heats slower than a desert tortoise with a hangover, this might be a serious game-changer for your home cooking. Check it out:
Imagine something as hands-off as a slow cooker, but so much faster. You literally put your food in a reusable bag, run it through a vacuum sealer, and drop the bag in the water. That’s it. And if you play your cards right, you can even reuse the bags over and over again, drastically reducing not only the waste in your kitchen, but the number of dishes you have to wash. WIN!
The SmartHub is especially handy for unprocessed cooking. It cooks up tough root veggies with ease, as well as meats and proteins that a lot of people generally have difficulty with. (Hello, seafood, I’m looking at you.) Hell, you can even make yogurt and ice cream in this thing. The water bath cooks foods gently, and the consistent temperature all but assures that foods will be cooked perfectly.
To show you how easy it is to create an unprocessed dinner in the SmartHub, I cooked a simple, 100% unprocessed meal in a little over one hour. But here’s the kicker: It took me literally 15 minutes of actual work. Do you know what I did with that extra hour during which the SmartHub cooked my dinner? I drank a glass of wine and watched an episode of Luke Cage on Netflix.
Can you think of a better way to spend the time you normally dedicate to cooking dinner? I didn’t think so.
For dinner I cooked up 4 local, free-range chicken legs, a pound of organic carrots, and even had time to put together a healthy appetizer with a quick-cooking edamame hummus. As you’ll see from the recipes below, the whole thing came together with very little effort. So little effort, in fact, that I sat at my kitchen table for a good three minutes thinking I must have forgotten something, because I’m usually running around the kitchen like mad when I cook dinner.
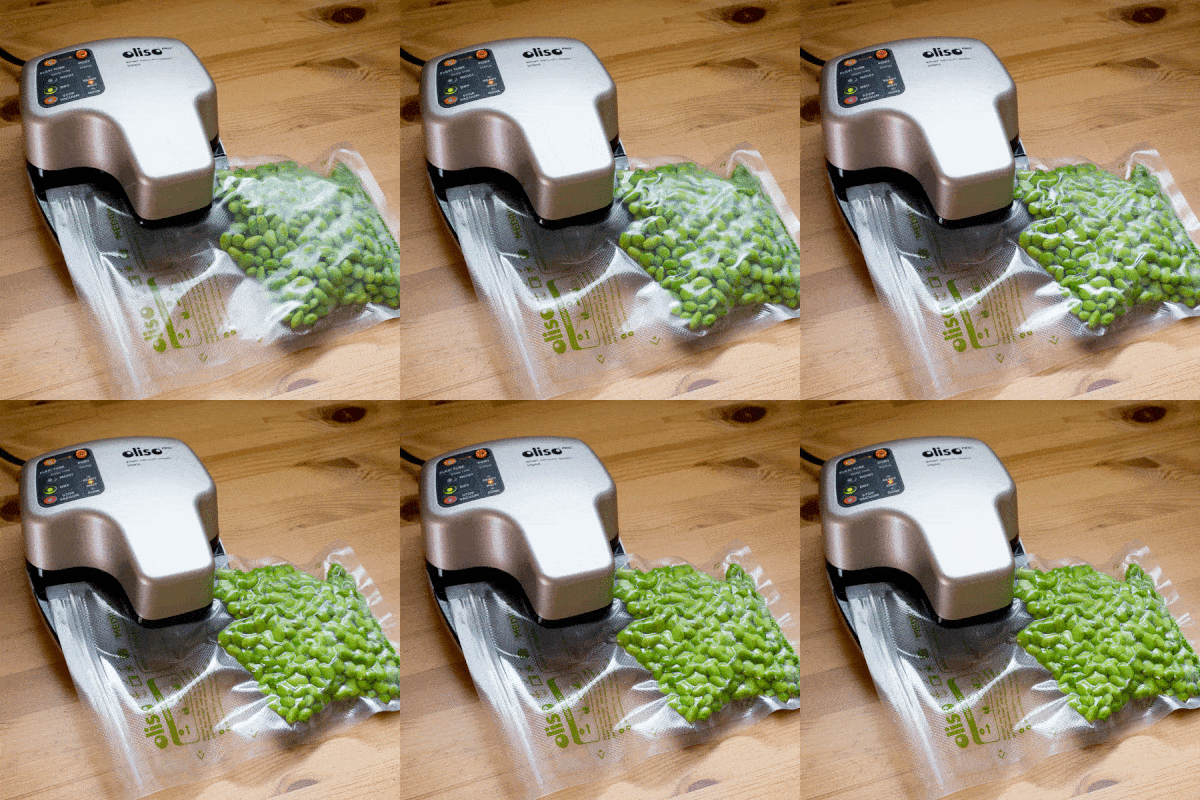
First, I threw the edamame in a sous vide bag, and ran it through the vacuum sealer:
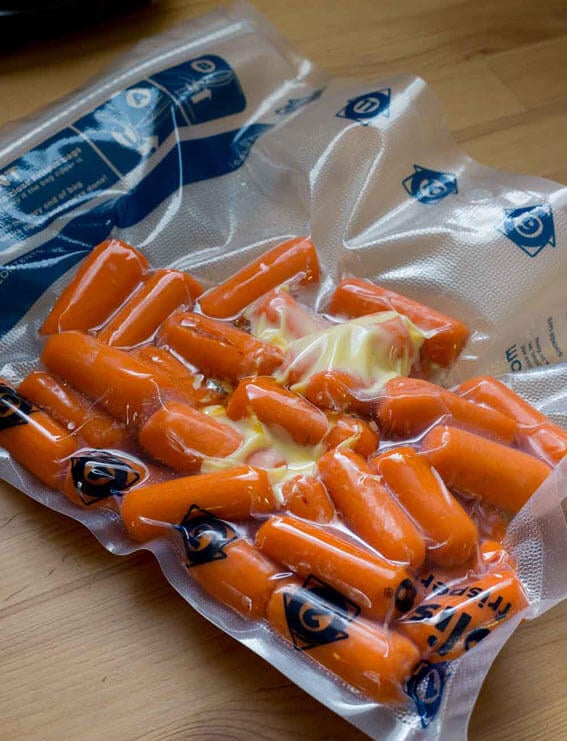
Then I did the same with the carrots, adding only a little salt, butter, and honey to season them:
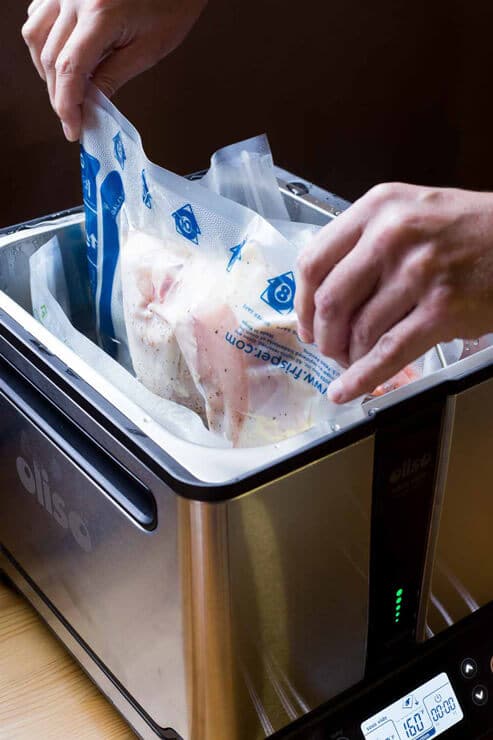
I finally did the same with the chicken, adding a dab of butter and a few pinches of salt and pepper. Voila, done. Into the cooker they go:
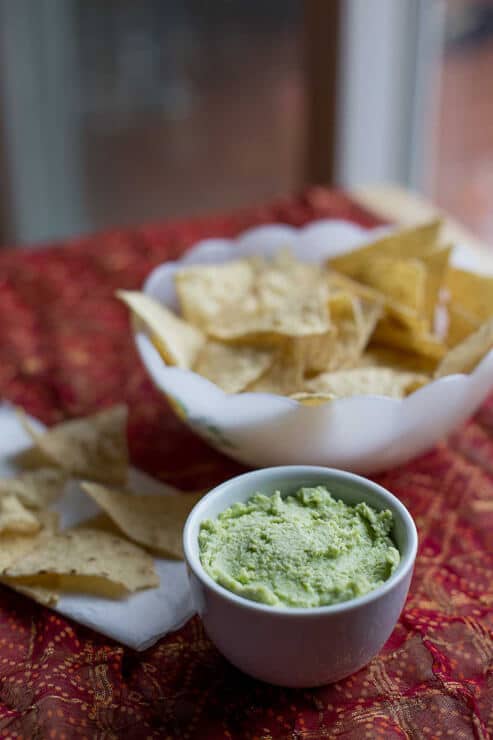
I let the edamame cook for about 20 minutes, then I removed them from the bag and blended them with a little olive oil, salt, and lemon juice. The resulting hummus dip was not only healthy, but super tasty when serves with non-processed corn chips. Check this out:
45 minutes after that, I pulled out the carrots and the chicken. The carrots I simply strained and transferred to a plate, and the chicken I threw in a hot frying pan to sear the skin (because, chicken skin). 5 minutes later, we were sitting down to dinner without even breaking a sweat. Not too shabby.
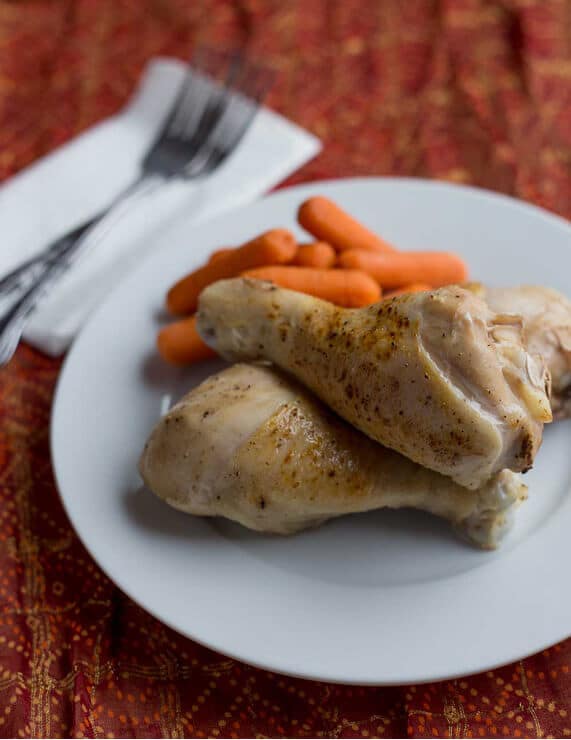
I’ve used a lot of different sous vide equipment in my time, and I have to say that the SmartHub sous vide cooker is probably the easiest, least dramatic way I’ve found to produce consistently good results in a hands-off way. It cooks quickly, evenly, and easily. Honestly, what more can you ask for when making dinner?
Sous Vide Chicken, Carrots, and Edamame Hummus
Ingredients
Edamame Hummus
- 12 ounces shelled edamame, if using frozen, defrost first
- 1/4 cup extra virgin olive oil
- 1 small lemon, juiced
- salt
- pepper
Carrots
- 1 pound carrots
- 2 tablespoons soft butter
- 1 tablespoon honey
- 1/4 teaspoon salt
- 1/4 teaspoon freshly ground black pepper
Chicken
- 4 chicken legs, or boneless, skinless chicken thighs, or 2 boneless, skinless chicken breasts
- 2 tablespoons soft butter
- salt
- pepper
- 2 tablespoons olive oil, optional
Instructions
30 minutes ahead of time
- Fill the SmartHub with water and preheat to 165F. You will be cooking all of these dishes together in the water bath, so prepare them in the following order.
Prepare the edamame hummus
- Place the edamame in a vacuum sealer bag. Seal the bag and add it to the water bath.
- Cook for 20 minutes.
Prepare the carrots
- Remove the stem ends from the carrots.
- Peel the carrots and cut them in half, lengthwise, then cut then cut them in half again so they're half as long.
- Add the carrots to the vacuum sealer bag along with the butter, honey, salt, and pepper. Seal the bag and add it to the pre-heated water bath next to the edamame.
- Cook for 1 hour.
Prepare the chicken
- Dry the chicken with a paper towel, then rub each cut down with a portion of the butter.
- Sprinkle chicken with salt and pepper, then place the cuts in the vacuum sealer bag. Seal the bag and add it to the water bath along with the carrots and edamame.
- Cook for 1 hour.
Finish the edamame hummus
- Remove the edamame from the sealed bag and place them in a food processor. (You can also use a hand blender, or feel free to go at it with a potato masher.)
- Add the olive oil, 2 teaspoons of lemon juice, and a pinch of salt and pepper. Blend the edamame until you've got a course paste, like hummus.
- Taste the hummus. If it needs more moisture, add another 1 or 2 tablespoons of oil. If it needs more lemon, add another 1 teaspoon of lemon juice. If it needs more salt or pepper, add a pinch and taste again. Basically, add as much oil, lemon juice, salt, and pepper as you like until you have the desired flavor and texture.
- Serve with tortilla chips, or store in an airtight container in the refrigerator for up to 4 days.
Finish the carrots
- Gently squeeze the carrots through the bag to see if they are done. They should be tender but still firm, not crunchy and certainly not mushy.
- Strain off the excess liquid and set on a plate.
Finish the chicken
- Once the chicken is done, remove it from the sealed bag and pour off any excess liquid. If you're using boneless, skinless chicken breasts or thighs, skip the next step and serve immediately.
- If you want to brown the skin on your chicken cuts, heat 2 tablespoons of olive oil in a frying pan over medium-high heat. Quickly sear the chicken skin in the pan, about 1 minute, making sure to not overcook the chicken. Serve immediately.




Those carrots look scrumptious. I would not have thought to cook protein and veggies together because veggies generally need a lot more heat. So using dark chicken meat is genius! Thx for the recipes.
Can someone get me over the hump of literally wrapping my food in plastic, dropping it into hot water, and letting dogknowswhat leach into it? How is this ok?
Generally the plastic is rated to higher temps than, say, a ziplock bag, and the water isn’t heated all that high in a lot of cases. Plus the food isn’t in the hot water very long. But in the end, it’s up to you and your own comfort levels.