The Superfood Secret to Making Homemade Condiments Last for Weeks
Last Updated September 20, 2018 · First Published October 22, 2012
 Margaret Floyd is a nutritional therapist, writer, and passionate real food advocate. She is a board-certified Nutritional Therapy Practitioner and Certified Healing Foods Specialist, with a thriving private practice in Los Angeles at The Body Well Wellness Centre. Margaret is the author of Eat Naked: Unprocessed, Unpolluted, and Undressed Eating for a Healthier, Sexier You and the coauthor of the follow-up cookbook, The Naked Foods Cookbook. She currently blogs at Eat Naked as well as several other health-related websites. You can connect with her on Twitter and Facebook.

Condiments. Delicious and essential. And, often some of the biggest culprits in derailing our unprocessed intentions. The dressings, sauces, salsa. Ketchup, mustard, mayonnaise. They all have long lists of unpronounceable ‘faux’ ingredients to lengthen their shelf life or add synthetic flavor, texture, and nutrients where the originals have been processed out. Even the ‘healthy’ options like salad dressing or an innocent jar of salsa can send you reeling.
Making these condiments is challenging for most of us – not just because it takes time to make them, but because they’re the kind of thing we want to just have on hand to use when needed. Who wants to make a batch of homemade mayonnaise every time they have a sandwich?
When you go to all the effort to make a condiment from scratch, you want it to have some legs. It should last at least a few weeks; even better a couple of months. But how to do this without all those artificial preservatives or intensive processing methods?
There is a little known and incredibly simple method that you can use to preserve any condiment, naturally extending its shelf life by weeks (if not months) and enhancing its nutritional value in the process. Let me introduce you to the art of culturing.
Culturing – or fermentation – is a natural form of food preservation that humans have been using for thousands of years. Indeed, culturing is thought to be the earliest form of food preservation and the original ‘cooking’ technique before fire was discovered.
When you culture a food, naturally occurring bacteria convert the sugars in the food into lactic acid or alcohol – both of which prevent spoilage. You can culture almost anything. We culture dairy into foods such as yogurt, kefir, buttermilk, and cheese; we culture vegetables into sauerkrauts and pickles; we culture fruits into chutneys and wine; we culture grains into sourdough bread, beer, and liquor. We can even culture fish and meats.
Today I’m going to share with you one of the easiest ways to naturally culture any kind of condiment using a simple culture starter made from plain yogurt: whey. The whey kickstarts the culturing process, inoculating the food with beneficial bacteria that convert the sugars into lactic acid, preventing spoilage and preserving the food.
It’s a lot easier than it sounds. The bacteria do 99% of the work, you just have to introduce them to the food.
Now the real bonus of this process is that it adds some significant nutritional value to your food. Quite the opposite of most forms of food preparation! In the culturing process you are adding beneficial bacteria (yes, your ketchup will have probiotics in it), increasing vitamin levels especially some B vitamins and vitamin K, and adding enzymes, which makes this condiment a digestive aid. Not bad bang for your buck, I’d say.
Here’s how it works:
Step 1: Make whey
You know that clear yellow-ish liquid that appears on your yogurt when it’s left to sit? That’s the whey. To separate it from the yogurt, you’ll need the following:
- 1 tub of plain, organic yogurt (must contain active bacterial cultures). Don’t use Greek yogurt. It already has most of the whey strained out.
- 1 strainer or colander
- 1 clean fine-weave cloth dish towel or cloth napkin
- 1 medium-sized bowl (if you have a clear bowl, that’s a bonus)
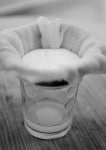
Line the strainer or colander with the dish towel or napkin, and rest them on top of the bowl. Put all of the yogurt in the lined strainer, and leave it out at room temperature for about eight hours. The whey will drain through the lined strainer and into the bowl underneath, and you’ll have a thicker Greek-style yogurt left in the strainer. Use it as-is or add some herbs and spices to it and make a nice dip.

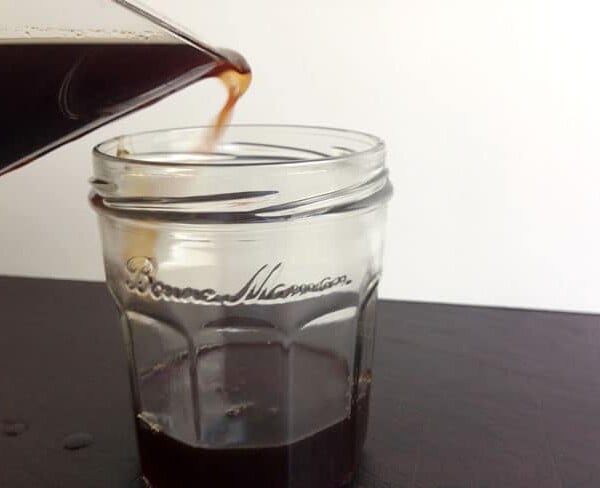
Step 2: Store the whey until you make a condiment
Store the whey in a glass jar and keep it in your fridge. It will last for months.
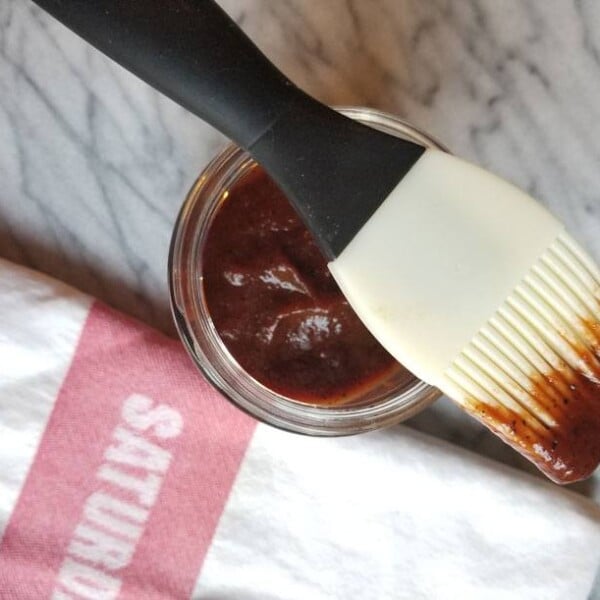
Step 3: Add the whey to any homemade condiment and let sit at room temperature for 2-4 days
Let’s say you want to make some salsa that lasts more than a week.
- Prepare the salsa as you would normally (the recipe really doesn’t matter – any will do), and then stir in 4 tablespoons of whey.
- Put the mixture into a glass jar, making sure to leave about an inch between the top of the condiment and the top of the jar.
- Seal the jar tightly and leave it out on your counter at room temperature for 2-4 days (2 in the summer when its warm, 4 in the winter when it’s cooler). It’s important that you leave it at room temperature during this time. If you put it in the fridge, you stop the culturing process. During those 2-4 days, the beneficial bacteria will do their thing and your salsa will now last for several weeks, up to 3 months.
- Once the condiment has been cultured, refrigerate, and use when needed. That’s my favorite part: use when needed. Not “Hurry up and use it all this week before it goes bad” just, use when needed.
You can use this process with any condiment. In my recent cookbook, The Naked Foods Cookbook, my co-author Chef James Barry and I have included many recipes for easy homemade condiments (ketchup, mayonnaise, mustard, several salsas, cultured vegetables, and many more) that use this exact technique. It’s simple, it works, it doesn’t affect the flavor of the food, it’s 100% natural and unprocessed, and it adds nutritional value to the meal.


I love this! It makes your food more nutritious and adds probiotics to your foods! I’m buying your book for sure. Can you use it in dressing?
This method sounds fascinating, but has it been vetted by anyone as to the bacteriological content of the food after the fermentation process? I’m a bit concerned about letting a food, especially mayonnaise sit for 4 days at room temperature.
Sometimes if a little air gets in there can be a touch of mold, which is what it sounds like happened. Make sure the jar is sealed tightly, that there’s only an inch between top of jar and top of your spiced butter, and leave it out for only a couple of days next time. With living foods, it’s never an exact science – lots of trial and error!
I followed the directions above to can a large batch of Pumpkin Spiced Butter. However, after a few days at room temperature, there is now white spots on the top of the spiced butter. Did I do something wrong? Is that normal?
If I don’t have any glass jars available, will a tight plastic container work? And in case you tell me I need to go buy jars…can I refrigerate the condiment overnight and THEN culture it at room temp?
I wouldn’t use plastic. You never know what will leach into your food. We avoid it as much a possible. As for leaving in the fridge … there’s no real benefit to doing that before culturing other than you delay the process. The beneficial bacteria in the whey are inactivated below a certain temperature, so they will go dormant in the fridge, and only wake up again when they’ve been out at room temperature for a while.
Brilliant. I already do this with my homemade mayo, never occurred to me to do the same with other condiments. Silly me. Love the fridge door shelf photo. None of my containers have commercial labels either.
I am having an issue with my towel soaking up all my Whey. I am now trying cheese cloth, maybe I do not have enough gravity action or is this normal (and can I ring out the towel to get my whey back? I am making my first recipe from your cookbook tonight…had my rice soaking all night for my coconut rice. Unfortunately my food processor is not here yet so I can’t make my nut crust :{ very excited to try all your recipes!
Your towel may be too thick. You can use a cloth napkin as well. Cheesecloth works – it lets a lot more liquid through so you may want to use several layers of it. Delighted you bought the book! Let me know what you think of the recipes!
Yep cheese cloth worked like a charm! The coconut rice ROCKS! My 2 and 4 year old devoured it :} The Mediterranean dip was a hit at my ladies night out event, first bowl to be empty. Must say I am hooked. Thank you for taking the time to answer all our comments
Sincerely
An EX-Junk Food Junkie
Wonderful! And I’m THRILLED to hear that you’re having such great success with the cookbook! That coconut rice is a favorite of mine, too 🙂 Be well!
Really interesting post. I never would have guessed the secret was whey.
“Seal jar tightly”? Are you not risking explosion from the fermentation action, or do you figure that it’s not going to have enough activity from such a short period?
You want to make sure you leave a good inch between the top of the condiment and the top of the jar. I’ve never had any explosions. The one exception is making coconut yogurt, which is TRULY explosive, but that’s a slightly different process than what we’re doing here.
This is great! I’m always throwing the mayo out before I’ve used it all up. And I make my own yoghurt, so always have a jar of whey in the fridge.