How to Cook Dried Beans – The Quick and Easy Method
Oct 22, 2016, Updated Jun 28, 2020
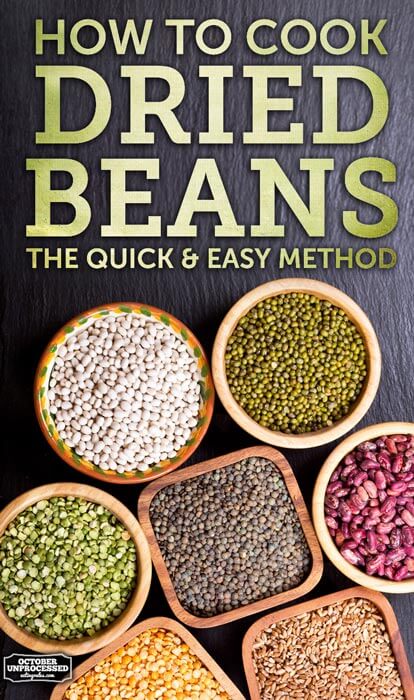
Eating unprocessed can seem time consuming when you first start out. Whole foods take forever to cook, don’t they? Not if you have a handful of cheffy secrets and pro tips. A few weeks ago I wrote a post on my site, Fearless Fresh, with tips for cooking whole grains without taking up a ton of time. Whole grains are a great addition to unprocessed meals that are both healthy and won’t break the bank. Besides whole grains, there’s one other addition to your quick and easy whole foods arsenal. Everyone’s favorite musical fruit: BEANS!
Beans are not only a great source of fiber, they’re are a healthy way to add more protein to your diet without adding a ton of fat, carbs, or extra cholesterol. They’re also a fast option for dinner when you don’t have much else in your cupboard.
For best CHEAP results, buy dried beans.
When it comes to beans, you have two options: canned or dried. Canned beans are great and pretty healthy, but the truth is they’re expensive. At my local grocery store a can of kidney beans is $1.25, while I can get almost two full pounds of dried beans for the same price.
And here’s a secret: there are few things tastier than fresh beans made on the stovetop, cooked slowly over a few hours (with very little actual work).
Yes, I said “a few hours.” Don’t balk. I promise there’s a cheat here that will make beans doable for any weeknight dinner. I’m here to show you how to make perfect home cooked beans without bending over backwards.
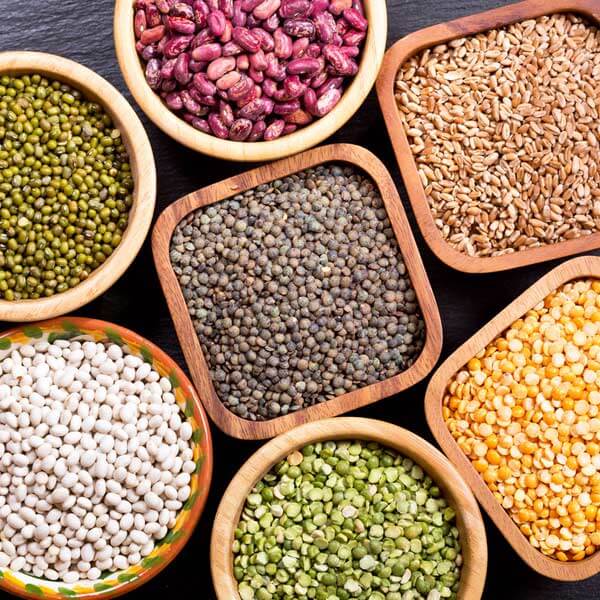
Where can you get fresh, dried beans? You can generally get them in the bulk aisle of your local grocery store. Avoid buying mass-produced dried beans in bags, as they’ve often been sitting on that supermarket shelf for a very long time. If your local grocery store doesn’t have beans in bulk and you have to buy bags of beans, give the bags a good look-over. If you notice they’re dusty or generally look old, pick another package.

The cheat: make-ahead for success
The most effective tip on cooking dried beans is to make them ahead of time. Just like with whole grains, beans are an awesome and cheap way to clean up your diet. The problem is that dried beans are a time-consuming endeavor since they require a few hours to cook. Thankfully, also like grains, they are easily prepared in large batches so that you can feed yourself for the rest of the week. I make four to five cups of beans on Sunday, when I have more free time to cook, which gives me enough for dinner and quick, healthy lunches throughout the week.
Another plus? The more you eat beans, the less you’ll experience their……… dolorous effects. That’s a pretty big win.
The overnight soak — yea or nay?
A note on soaking: many recipes suggest that you soak your beans overnight to get rid of their “musical qualities.” While you can certainly do this, it really doesn’t make a difference. In fact, I don’t like soaking my beans overnight because I always wake up the next morning to a bowl of weird-looking, half-soaked lumps that have stretched out of their skins. They only cook a little bit faster when they’re soaked, and in the end it just adds another step to an already time-consuming process.
Easy cooked beans
Regardless of the type, beans are best prepared simply, with very little seasoning to compete with their natural flavor. You can use the below method to cook almost any kind of beans: Black beans, kidney beans, Great Northern beans, navy beans, pinto beans, you name it.
First, what should you cook beans in? Beans are made for easy cooking, which means there are no crazy tools or bean pots necessary. In other words, feel free to cook your beans in whatever pot or Dutch oven you have handy. Just make sure it has a lid.
I start by heating 3 tablespoons of olive oil over a medium flame in my bean pot or Dutch oven. Once that’s good and hot, I toss in half a chopped onion, and let that cook until soft, about three minutes. Then I add one clove of chopped garlic and cook for another minute.
Once that’s all done, I toss in one pound of my beans of choice along with enough hot water to cover them by about 3 inches. Give the whole thing a stir and cover the pot, setting the lid slightly askew to let some of the steam escape. Lower the heat to a simmer.
Now, depending on the kind of beans you’re using, they could take anywhere from an hour to four hours to cook. Check every 20 minutes or so, eating one to test for doneness and to make sure there’s enough water in the pot to keep them moist. Once they’re almost done — once you try one and it’s almost tender — add the salt. You don’t want to salt your beans early on because this can lead to mushiness (ew).
Your beans are done when bite into them and they’re soft, without any crunch or other hardness. Some beans are creamy, some are firm, and some are starchy… but none of them should ever be tough or offer up any resistance to chewing. Do not overcook them or they will turn to mush. (Which, incidentally, you could turn into hummus or bean dip.)
Once your beans are full cooked, stick them in an airtight container in the fridge for up to a week. Beans make a great addition to almost any dish you can think of. Add them to scrambled eggs, toss a handful into a salad, mash them up on toast, you name it. They’re a great source of fiber and protein, and can turn any lackluster last-minute dish into something you’ll actually be stoked to eat. If you want to get creative, look up a couple of recipes for how to make refried beans, winter bean soups, or some crafty 70s bean casseroles. If all else fails, try taco night!
Heirloom Beans FTW!
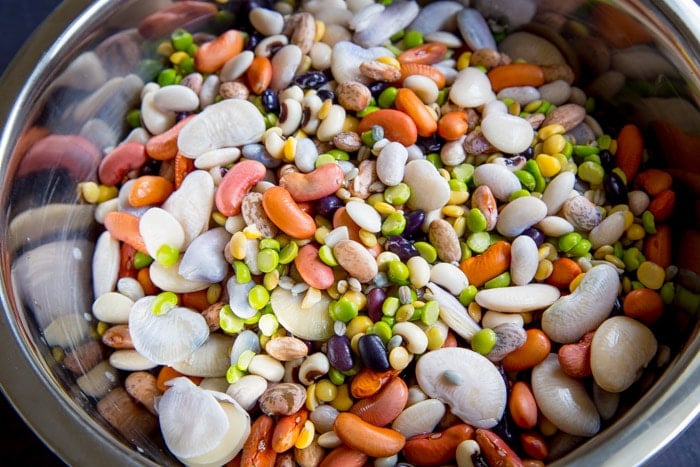
I’ve recently fallen in love with heirloom beans, which are varieties that have been around for long enough that their genes haven’t been tinkered with in a lab. No sir/ma’am, no Franken-beans for me! These days I get my beans in bulk from the local organic co-op, but sometimes I splurge for extra special beans from Rancho Gordo, who grows fresh heirloom beans that are guaranteed to be freshly dried and packaged.
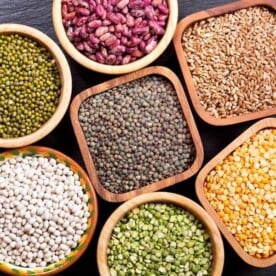
How to Cook Dried Beans Quickly and Easily
Ingredients
- 3 tablespoons olive oil
- 1/2 yellow onion, chopped
- 1 clove garlic, chopped
- 1 pound dried beans
- water, for cooking
- 1/2 teaspoon salt
Instructions
- Heat olive oil over a medium flame in your bean pot or Dutch oven. Once that's good and hot, toss in the onion and let that cook until soft, about 3 minutes, stirring occasionally. Add one clove of chopped garlic and cook for another 1 minute.
- Toss in 1 pound of beans along with enough hot water to cover them by about 3 inches. Give the whole thing a stir and cover the pot. Set the lid slightly askew to let some of the steam escape. Lower the heat to a simmer and cook.
- Depending on the kind of beans you're using, they could take anywhere from an hour to 4 hours to cook. Check every 20 minutes or so, testing for doneness and to make sure there's enough water in the pot to keep them moist.
- Once they're almost done (i.e., you taste a bean and find it's almost tender) add salt. Don't salt your beans too early, or they'll end up mushy (ew).
- Your beans are done when bite into them and they're soft, without any crunch or other hardness. Some beans are creamy, some are firm, and some are starchy... but none of them should ever be tough or offer up any resistance to chewing. Do not overcook them or they will turn to mush.
- Once your beans are done, stick them in an airtight container in the fridge for up to a week.
Notes
Nutrition
A version of this post originally appeared on FearlessFresh.com, under Healthy Eating for the Weak and Weary: How to cook dried beans.










Dried beans are so much better tasting than canned. I always cook at least a pound of the dry, use what I need for recipe and freeze the rest for later. They freeze very well.
y problem with dried beans is going off to do something else and coming back to find them burnt to the bottom of the pan. (Tip: Hurray for laundry powder – soak the burnt pan overnight in a little water and laundry powder and hey presto!) I always rescue as many beans possibe. They taste bit odd though. In the North of England we have ‘mushy’ peas. https://en.wikipedia.org/wiki/Mushy_peasI They are sold in fish and chip shops to eat with your fish and chips – the first fast food! (invented in 19th century English milltowns, Bought on a Friday night (payday) on the way home from the mill (Or colloquially, ‘ome from ‘t mill) by the mill workers after their normal 12 hour shift. Most mill workers were women, their men tended to work in the coal mines. Also Black peas are eaten on bonfire night. https://en.wikipedia.org/wiki/Black_peas The working class population… Read more »
Hi Helena! England, the motherland of my ancestors, for the WIN! Absolutely no fast food subsequently invented can ever surpass Battered Fried Fresh Fish and Chips! Was malt vinegar around then or was it concocted to marry the fish? It ’tis a marriage made in heaven. I’m so grateful to live near the coast in San Diego where Harbor Fish and Chips at the Oceanside Harbor on the south side is the best I’ve ever had. Thank you for the cool story! I’m a story sharer too when the vibe strikes. Keep leaving your little magic insights along the way and others will find them like I just did. I’m just having bad luck newly cooking beans. I think they were all too old. I’m craving Fish and Chips now!
Beans are very healthy and is full of nutrition. They have keratin that can strengthen our hair and nails. These small ones are very good for our body.
Pour off the juice? HERESY! One of my favorite breakfasts is a lump of hot polenta with juicy red beans poured over top. The liquid has so much flavor. And if it’s too juicy, I thicken the beans a bit with a handful of cornmeal in the pot for the last 20 minutes of cooking.
Besides, why would we pour off the liquid where all the vitamins and minerals have been swimming, and are probably still there, for the most part?
You really should cool the beans before they go into sealed containers in the fridge. prevent foodborne illness.
my problem is trying to freeze them after cooking them. They stick together and its so hard to defrost the beans
I have a fix for that! Take a large baking pan and line it with paper towels, then take another baking sheet and line it with parchment paper. Once the beans are done, pour off any excess liquid and spread them onto the paper towels to soak up any liquid that remains. Let them sit 20 minutes or so, then transfer the now much dryer beans from the paper towel to the parchment. Spread the beans out into one even layer, with no overlap, and stick the pan in the freezer.
Once they’re frozen, pop them off the parchment and add them to a zip-top bag or freezer container. Since they’re mostly frozen individually at this point, they should stay pretty easy to separate (unless your freezer defrosts and freezes).
I use this same method for berries. 🙂
Hi Steph! Thanks for this! I´ve cooked not-ready beans always. Now I know that time was too little and I need to have more patience!! Can you tell me how long it takes for different beans to cook? Particularly black beans I´d like to know. Thanks again!
Hey there Paula 🙂 I’m going to be one of those people who says, “It takes as long as it takes.” I hate it when people say this to me, but in this case it’s true! There are so many kinds of beans that it’s tough to say how long they take. When you factor in that freshness is a HUGE variable with how long beans take to cook, well, it’s really tough to say. I’ve had black beans cook in a little as three hours and as as long as five. I wish I could be more help. What I’d say to do is pick a specific brand of black beans you want to stick with, cook them once until they’re perfect, and then apply that time to that specific brand of beans going forward. It should be fairly consistent if you keep using the same beans. I hope… Read more »
Thanks Steph! I´usually cook them for about just one hour!! So your answer was really helpfull, and I´ll start to have patience and cook them a bit more. Thanks again!
I had the same question as Wendy – do you drain off the liquid once beans are cooked?
I posted an answer to Wendy, but here it is again in case the system won’t email you as a reply to her comment: It’s totally up to you. 🙂 If you’re eating them straight up, pour off the liquid. If you’re using them for a soup or another purpose that involves a fair amount of liquid, toss in the excess liquid from the beans! It’s delicious.
Thanks! I’ve got garbanzos on the stove right now……
I just cannot imagine someone draining that DELICIOUS SOUP off the beans and throwing it away! I always thought they were called “SOUP BEANS” for a reason. So my answer to your question is, “No….never drain away the “bean soup” unless you plan to freeze it and save it to add to some other soup pot at a later time.”
Do you drain off the water and just keep the beans, then?
It’s totally up to you. 🙂 If you’re eating them straight up, pour off the liquid. If you’re using them for a soup or another purpose that involves a fair amount of liquid, toss in the excess liquid from the beans! It’s delicious.
I agree with that except if you are on a fodmap diet then you have to drain them. Since my niece moved in I have learned a lot about low fodmap foods.
The last time I made beans from dry was when I worked at a job that used beans as part of menu so I needed a good refresh plus a smaller amount to make recipe. I had forgotten about the initial ingredients to start in bean cooking (oil, onion and garlic) since canned beans leave them out visually. Now I feel more secure in making beans from scratch, thanks
Awesome!! So glad you’re finding this useful, Maria.